LVP Flooring Install: A Complete Step-by-Step DIY Guide
Subfloor Prep • Required Tools • Click-Lock Technique • Pro Tips
Table of Contents
- Why Mastering the LVP Flooring Install Matters
- Table: Essential Tools for the Job
- 1. Subfloor Preparation and Acclimation
- 2. Planning Your Layout and Expansion Gaps
- 3. Setting the First Row Correctly
- 4. Mastering the Click-Lock Technique
- 5. Cutting Planks and Working Around Obstacles
- 6. Finishing Touches: Baseboards and Transitions
- Frequently Asked Questions
Tackling an lvp flooring install is one of the most rewarding DIY projects a homeowner can undertake. Luxury Vinyl Plank (LVP) has become the gold standard in modern home renovations due to its 100% waterproof capabilities, stunning wood-look aesthetics, and, most importantly, its user-friendly installation process. Whether you are upgrading a single bathroom or transforming your entire house, understanding the correct procedures will save you thousands of dollars in professional labor costs.
According to installation standards set by the World Floor Covering Association (WFCA), the longevity of your new floor depends almost entirely on the quality of the installation. At Flooring Liquidators Outlet, we supply premium materials to both contractors and weekend warriors. In this comprehensive guide, we will walk you through every step of a flawless lvp flooring install.
🛠️ Preparation is Key. Gathering the right tools before you begin your lvp flooring install ensures a smooth, uninterrupted workflow. 📏
Essential Tools for Your LVP Flooring Install
Before pulling up your old carpet or laying down the first plank, you need the right equipment. Here is a checklist of the essential tools required for a successful lvp flooring install:
| Tool Name | Purpose During Installation |
|---|---|
| Tape Measure & Utility Knife | For measuring and the “score and snap” cutting method. |
| Spacers (1/4 inch) | To maintain the necessary expansion gap around the perimeter. |
| Tapping Block & Rubber Mallet | To gently secure the click-lock joints without damaging the edges. |
| Pull Bar | Essential for tightening joints at the ends of rows near the wall. |
| Jigsaw or Circular Saw | For cutting around door jambs, vents, and complex angles. |
1. Subfloor Preparation and Acclimation
The most common reason an lvp flooring install fails is poor subfloor preparation. Your concrete or wooden subfloor must be clean, dry, and flat. Use a leveling compound to fill any dips greater than 3/16 of an inch over a 10-foot span. Additionally, let your unboxed LVP acclimate in the room where it will be installed for at least 48 hours to adjust to the temperature and humidity.
2. Planning Your Layout and Expansion Gaps
Do not just start laying planks randomly. Measure the width of your room and divide it by the width of your plank. If your final row is going to be less than two inches wide, trim the first row to balance the room. Always use 1/4-inch spacers against the walls; LVP expands and contracts slightly, and without this gap, the floor will buckle.
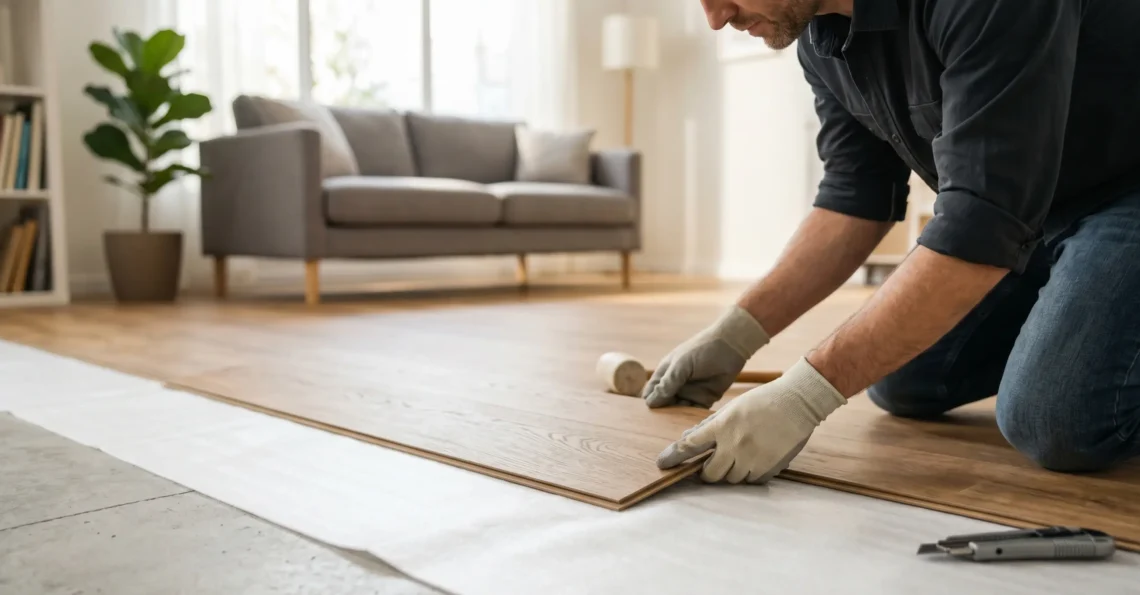
3. Setting the First Row Correctly
A straight first row guarantees a straight floor. Begin in the left corner of your longest wall, working left to right. Place the tongue side of the plank facing the wall (with spacers in between). Lock the short ends of the planks together, using your tapping block and mallet to ensure there are no microscopic gaps.
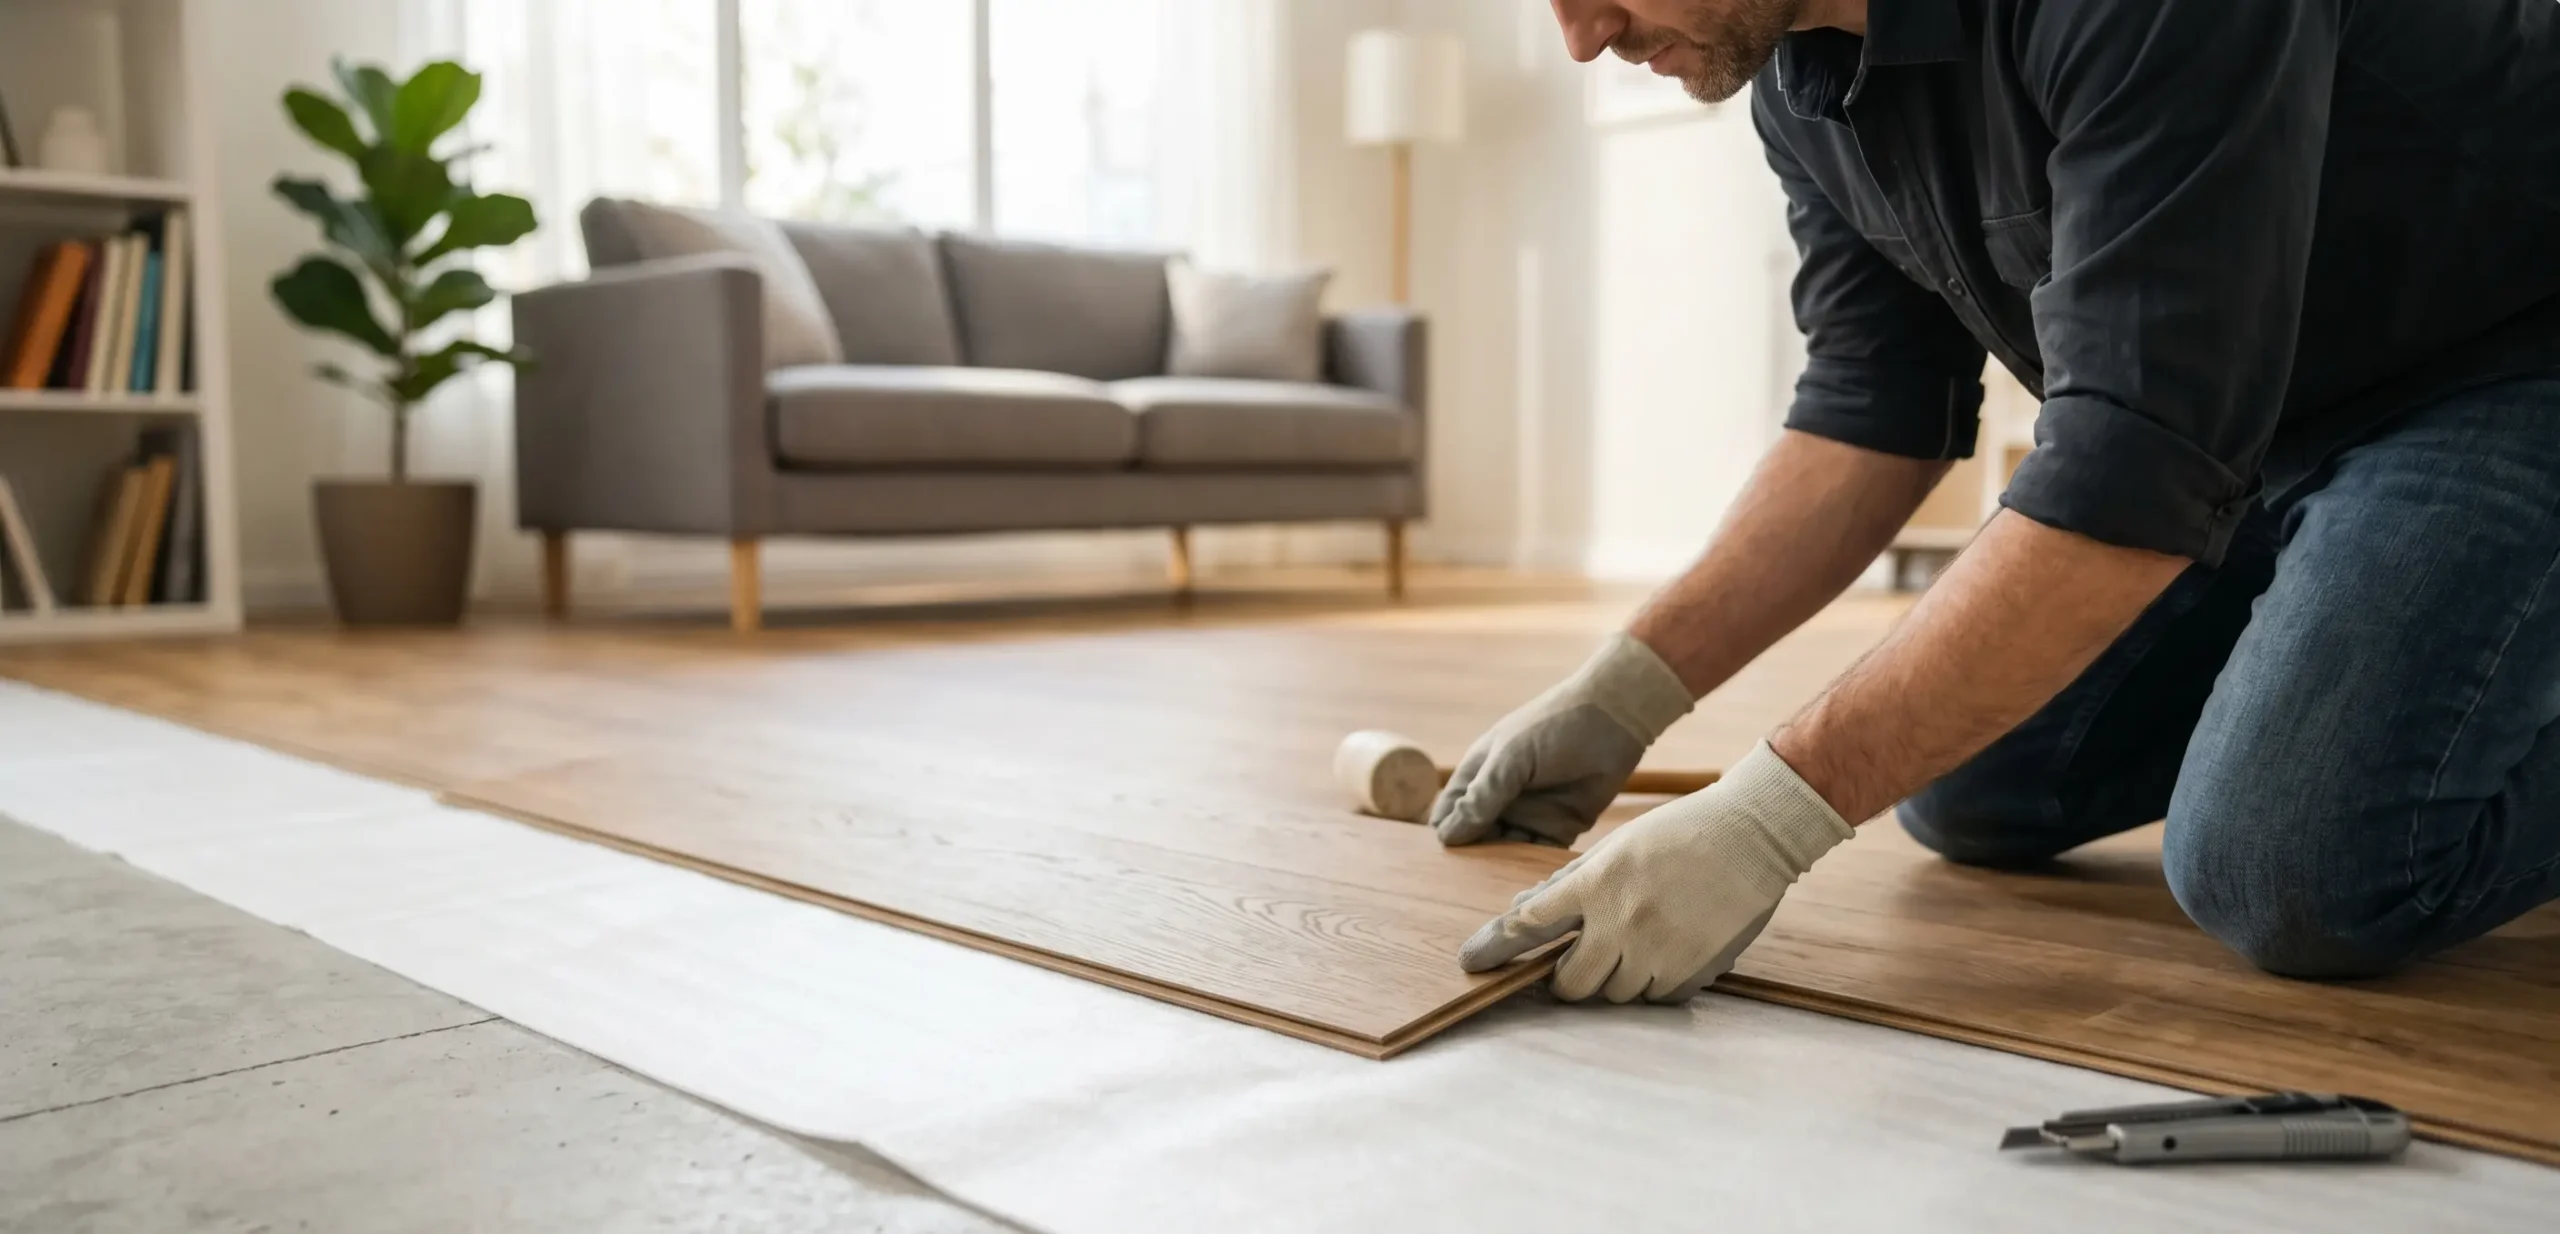
🧩 The Perfect Fit. The click-lock system is what makes a modern lvp flooring install so fast and completely glue-free. 🔨
4. Mastering the Click-Lock Technique
For the second row, cut your first plank to ensure the seams are staggered by at least 8 inches from the previous row—this creates the natural wood look and adds structural integrity. Insert the long edge of the new plank into the previous row at a slight angle (around 30 degrees), push forward, and fold it down flat. Use the tapping block to close the joint entirely.
5. Cutting Planks and Working Around Obstacles
A major advantage of an lvp flooring install is how easy the material is to cut. For straight cuts, simply score the top wear layer with a sharp utility knife and a straight edge, then snap the plank backward along the line. For cutting around door frames, toilets, or heating vents, use a jigsaw with a fine-toothed blade for precise, curved cuts.
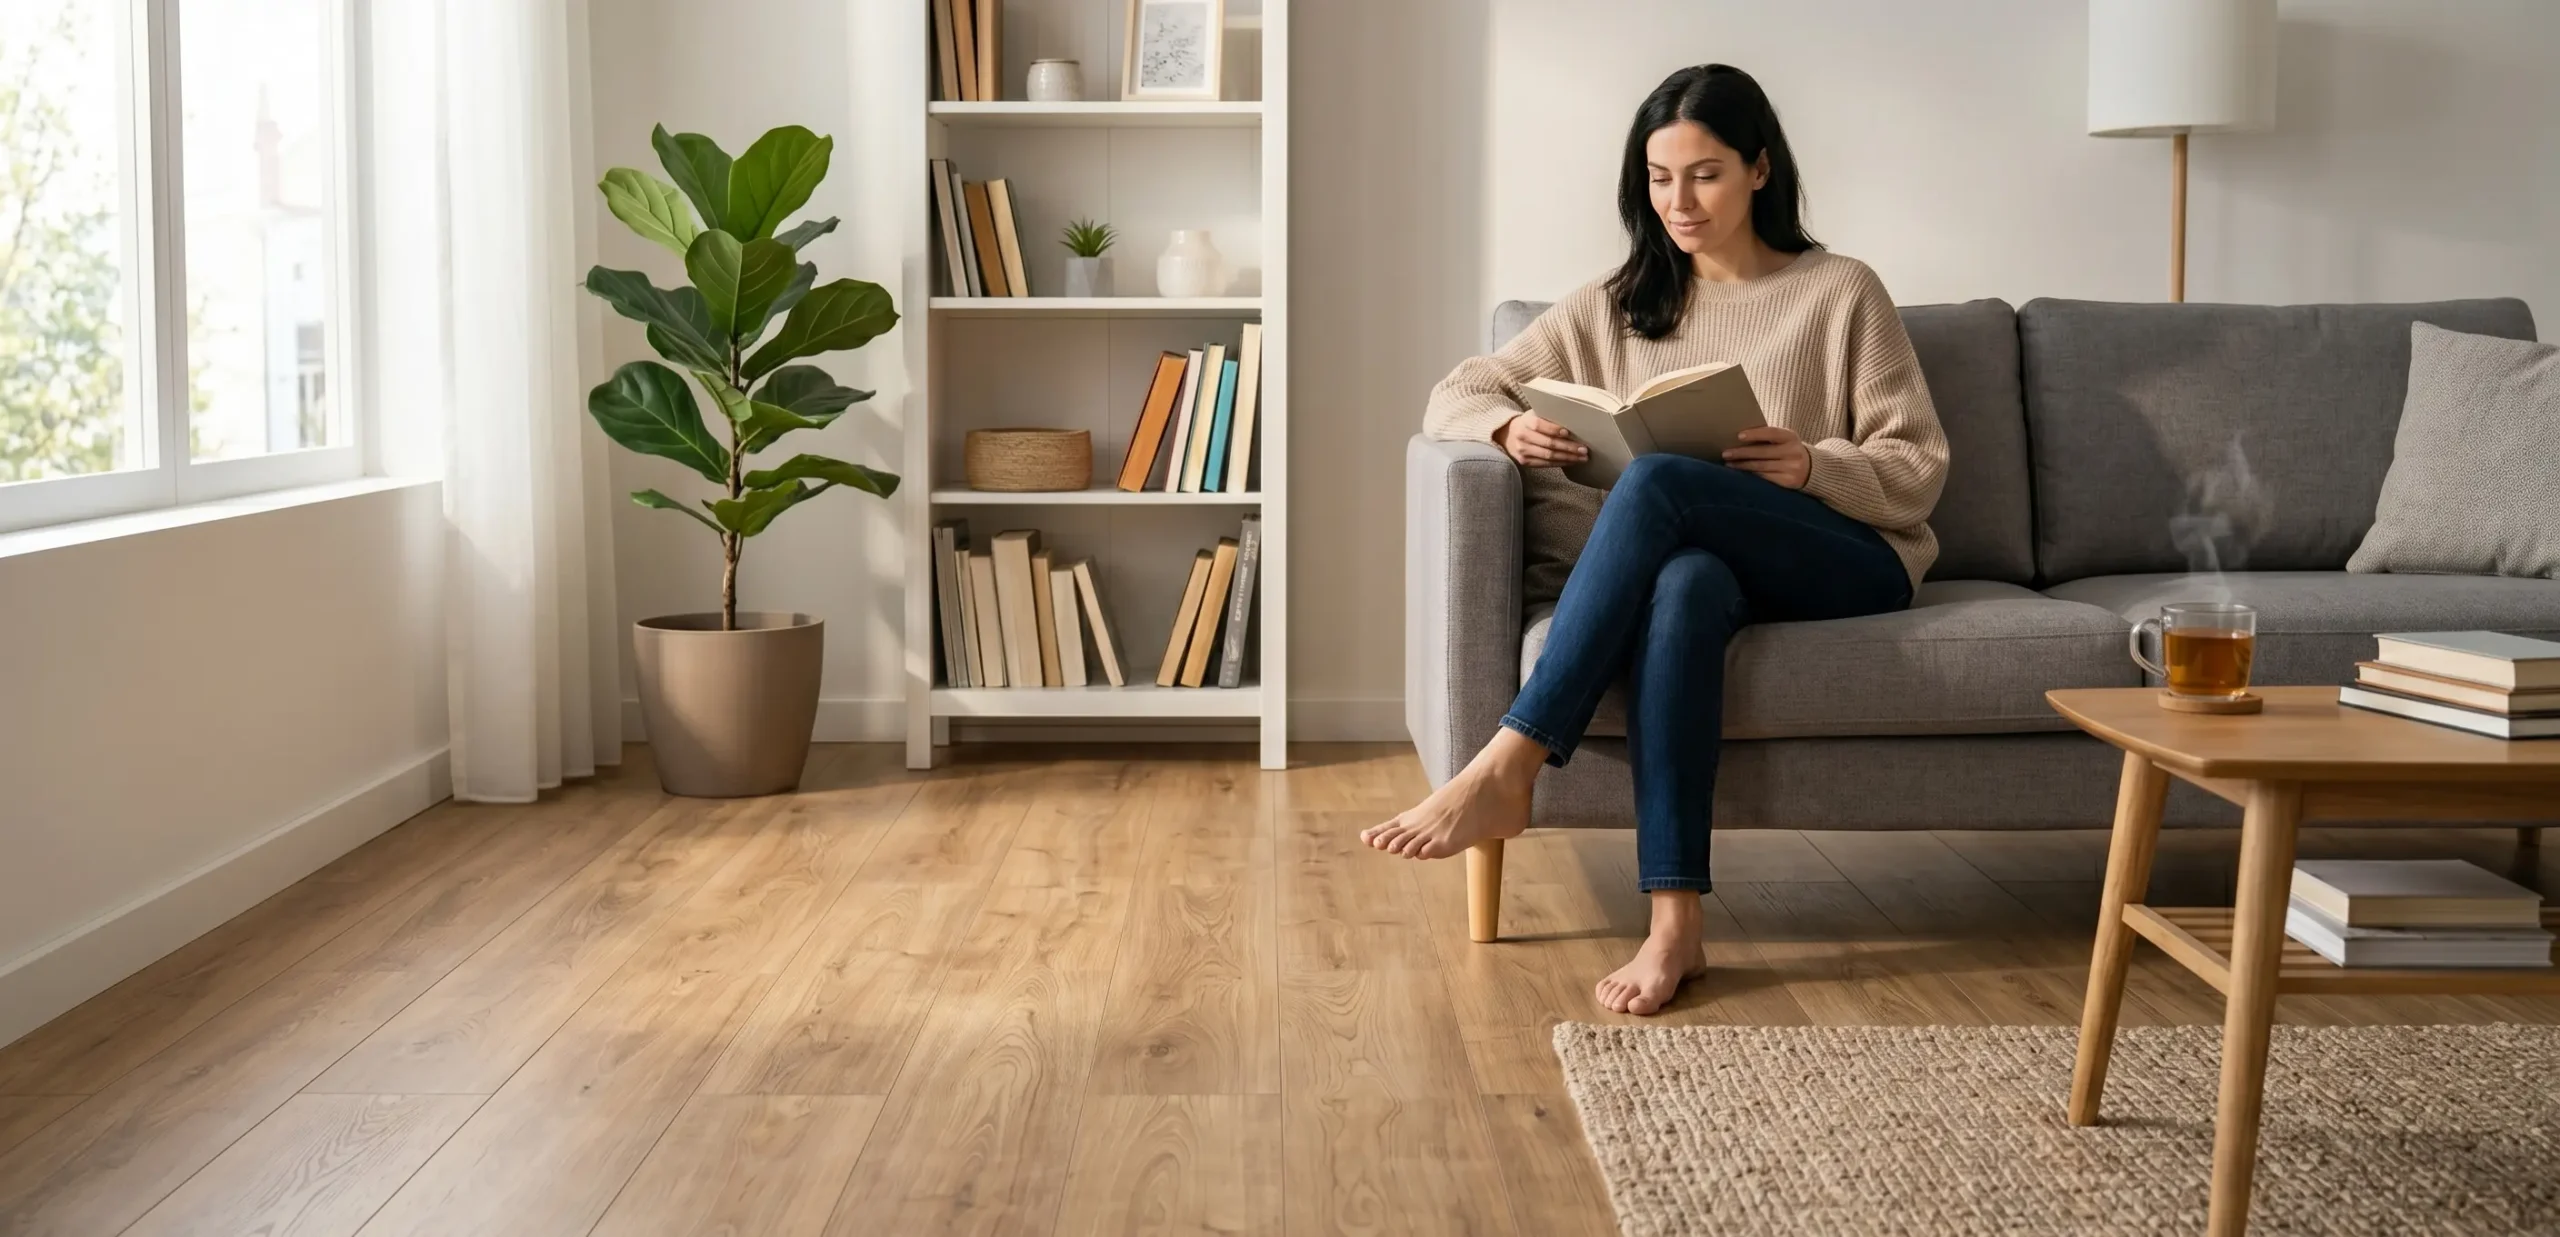
6. Finishing Touches: Baseboards and Transitions
Once the final row is installed using your pull bar, remove all the wall spacers. Cover the 1/4-inch expansion gap by installing baseboards or quarter-round molding. Make sure to nail the molding directly into the wall, never into the LVP itself, so the floor remains “floating.” Finally, install T-moldings or reducers at doorways to transition smoothly to other rooms.
Frequently Asked Questions
Do I need underlayment for an LVP flooring install?
If you purchase premium LVP with a pre-attached IXPE or EVA backing, you do not need an additional underlayment roll. However, if installing over a concrete basement, a 6-mil moisture barrier is heavily recommended.
Can I do an LVP flooring install over existing tile?
Yes! As long as the tile is firmly attached and the grout lines are not excessively deep. If the grout lines are wide, you may need to apply a skim coat of leveling compound first so the LVP doesn’t dip into the grooves over time.
Where can I buy high-quality LVP for my project?
Visit Flooring Liquidators Outlet. We provide premium, thick-wear-layer LVP designed for easy installation, perfect for DIYers and professional contractors.
Need the right materials for your installation?
Visit our warehouse at 6229 Edgewater Dr Ste 300, Orlando, FL 32810.
Contact Our Pro Desk today or get easy directions on Google Maps.